A Simple Sample
Before reading this article, you should first read Basic Concepts to understand the composition of a tool (what handler and uiWidgets are).
A Tool That Adds Emoji to User Input Text
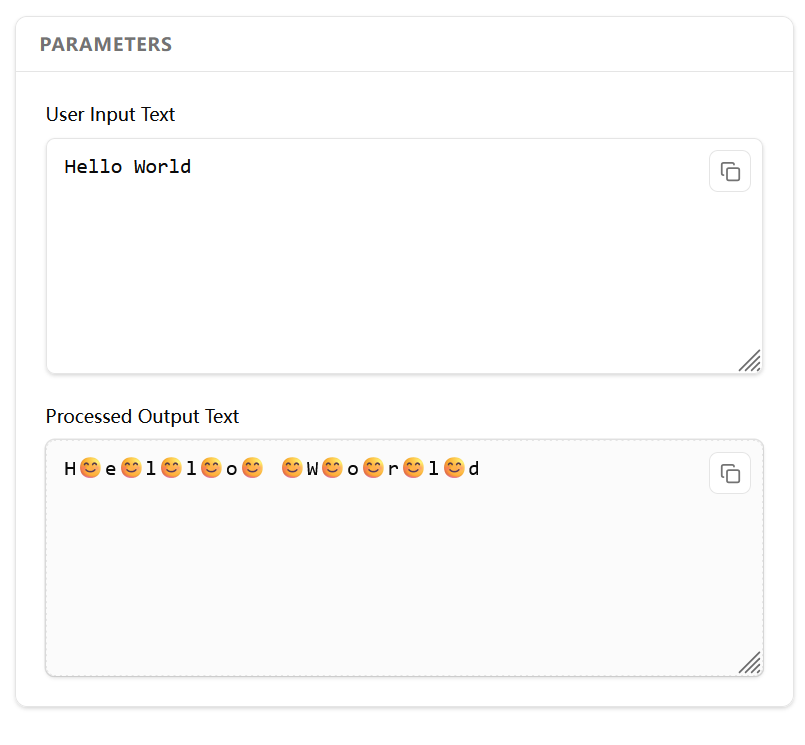
Here is a simple tool.
It accepts user input and inserts 😊 between each character of the input text in real time.
The effect is as follows:
The handler and uiWidgets code definitions of the tool are as follows:
[
  [
    {
      "type": "TextareaInput",
      "id": "user_input_text",
      "title": "User Input Text",
      "mode": "input",
      "props": {
        "placeholder": "Enter your text here..."
      }
    }
  ],
  [
    {
      "type": "TextareaInput",
      "id": "processed_output_text",
      "title": "Processed Output Text",
      "mode": "output",
      "props": {}
    }
  ]
]
async function handler(inputWidgets, changedWidgetIds, callback) {
  console.log("inputWidgets: ", JSON.stringify(inputWidgets));
  console.log("changedWidgetIds: ", changedWidgetIds);

  const inputValue = inputWidgets.user_input_text;
  const processedValue = inputValue.split("").join("😊");

  return {
    processed_output_text: processedValue
  };
}
uiWidgets Code Explanation
First, let's explain the JSON definition of uiWidgets.
It is a two-dimensional array. The first dimension represents rows in the UI, and the second dimension represents the UI component objects in each column of that row. A single row can contain multiple component objects.
[
    [ { widget 1 }, { widget 2 }, ... ], // row 1
    [ { widget 3 }, { widget 4 }, ... ], // row 2
]
After rendering, the final UI layout of these components is arranged as follows:
 widget1 widget2 ...
 widget3 widget4 ...
 ...
For the example in this article, we defined two rows of UI, with only one component per row.
[
  // Row 1, a text input component that accepts user input
  [
    {
      "type": "TextareaInput",
      "id": "user_input_text",
      "title": "User Input Text",
      "mode": "input",
      "props": {
        "placeholder": "Enter your text here..."
      }
    }
  ],
  // Row 2, an output component that displays the processed text
  [
    {
      "type": "TextareaInput",
      "id": "processed_output_text",
      "title": "Processed Output Text",
      "mode": "output",
      "props": {}
    }
  ]
]
ToolBake has a wide variety of built-in UI components. You can view all available components and their properties here.
- Here we used a component of type
TextareaInput, which is a multi-line text input component. idis the unique identifier for each UI component.titleis the title of the component, displayed above the component.modeis the mode of the component, which can beinputoroutput. When the component is inoutputmode, it becomes read-only and users cannot modify its value.propsare the properties of the component. Different components have their own uniquepropsthat can be configured. For details, see here.
handler Explanation
uiWidgets defines the tool's UI, while handler defines the actual runtime logic of the tool.
It is essentially a JavaScript async function that runs in the browser environment. Whenever a user modifies the value of a UI component, ToolBake collects all values from the UI components and automatically executes the handler function.
handler is a stateless function. Each execution is a new instance with its own independent context. If you need to maintain state across multiple executions, you can pass it through the handler's inputs and outputs (UI components).
For the example in this article, the handler code implementation is as follows:
async function handler(inputWidgets, changedWidgetIds, callback) {
  console.log("inputWidgets: ", JSON.stringify(inputWidgets));
  console.log("changedWidgetIds: ", changedWidgetIds);

  const inputValue = inputWidgets.user_input_text;
  const processedValue = inputValue.split("").join("😊");

  return {
    processed_output_text: processedValue
  };
}
handler is an async function that accepts three parameters:
inputWidgets
inputWidgets is a JavaScript object. Each time the handler is triggered, the ToolBake system collects the values of all UI components in the tool, aggregates them into an object, and passes it to the handler.
Through this object, you can access the values of each UI element. Its structure is as follows:
{
  "ui_component_id": "ui_component_value",
  "ui_component_id": "ui_component_value",
  ...
}
For this example, we defined two UI components in uiWidgets, with IDs user_input_text and processed_output_text respectively.
So, after the user enters text (e.g., "Hello World") in the user_input_text field, the value of inputWidgets would be as follows:
{
  "user_input_text": "Hello World",
  "processed_output_text": ""
}
changedWidgetIds
changedWidgetIds is a string that indicates which specific UI component ID's change triggered the handler execution.
When you have many UI components, you can use this parameter to determine exactly which component's value has changed.
handler is automatically executed once when the page loads. At this point, changedWidgetIds is undefined, and you need to handle this case in your code.
In this example, when the user modifies the value of the user_input_text input field and triggers the handler execution, changedWidgetIds === "user_input_text".
callback
callback() is not a return value but a callback function. By calling it, you can update UI component values in real time during handler execution.
For this example, we did not use it, so we will skip the explanation for now.
For more detailed information about callback(), refer to the section Displaying ffmpeg Processing Progress in Handler docs to see how to use it to update UI component values in real time during handler execution.
Return Value of handler
The return value of handler needs to be an object. Its structure is identical to inputWidgets — the key is the UI component's ID, and the value is the specified UI component's value.
{
  "ui_component_id": "ui_component_value",
  "ui_component_id": "ui_component_value",
  ...
}
After the handler finishes execution and returns this object, the ToolBake system will update the component values according to their corresponding IDs.
Complete handler Walkthrough
Combining the explanations above, let's fully analyze the execution process of this handler:
// After the user enters "Hello World" in the user_input_text input field,
// the handler below is triggered
async function handler(inputWidgets, changedWidgetIds, callback) {
  // At this point, the value of inputWidgets is
  // {"user_input_text": "Hello World", "processed_output_text": ""}
  console.log("inputWidgets: ", JSON.stringify(inputWidgets));
  // The value of changedWidgetIds is "user_input_text"
  console.log("changedWidgetIds: ", changedWidgetIds);

  // Get the value of the user_input_text input field, then process it by adding emoji
  const inputValue = inputWidgets.user_input_text;
  const processedValue = inputValue.split("").join("😊");

  // handler returns an object,
  // setting the value of the processed_output_text component to the processed text
  return {
    processed_output_text: processedValue
  };
}