Special UI Component: LabelInput
ToolBake ships with a large number of built-in components, all of which are predefined. This means you cannot freely display custom HTML as you wish.
To solve this problem, ToolBake provides the LabelInput component. Despite its name containing "Label", it is actually a component that can render arbitrary HTML.
By using this component, you can freely display any HTML content without being limited to predefined components.
Basic Usage: Displaying Plain Text
This is the most basic usage of LabelInput. Simply return a string from the handler to display the corresponding text.
- handler
- uiWidgets
async function handler(inputWidgets, changedWidgetIds) {
  // Return the text to directly display the corresponding Label
  return {
    "status-label": "Hello World"
  };
}
[
  [
    {
      "id": "status-label",
      "type": "LabelInput",
      "title": "Status",
      "mode": "output",
      "props": {
        "content": "",
        "tone": "default",
        "autoHeight": true
      }
    }
  ]
]
Result:

Basic Usage: Displaying Static HTML
LabelInput can also display HTML content. Simply return an HTML string from the handler.
- handler
- uiWidgets
async function handler(inputWidgets, changedWidgetIds) {
  // Return HTML to render in the Label
  return {
    "status-label": "<div><span style='color:red'>Hello</span> <span style='color:blue'>World</span></div>"
  };
}
[
  [
    {
      "id": "status-label",
      "type": "LabelInput",
      "title": "Status",
      "mode": "output",
      "props": {
        "content": "",
        "tone": "default",
        "autoHeight": true
      }
    }
  ]
]
Result:
Dynamic HTML Rendering
Since what LabelInput displays is controlled by the handler, you can naturally render HTML dynamically in the handler.
Below is an example of dynamically rendering a LabelInput component's HTML based on user input in the handler:
- handler
- uiWidgets
async function handler(inputWidgets, changedWidgetIds) {
  const user_input = inputWidgets["user-input"] ?? "";
  const rendered_html = `<div><span style='color:red'>user input:</span> <span style='color:blue'>${user_input}</span></div>`;
  return {
    "output-label": rendered_html,
  };
}
[
  [
    {
      "id": "user-input",
      "type": "TextareaInput",
      "title": "User Input",
      "mode": "input",
      "props": {
        "placeholder": "Document procedures, shortcuts, or caution items...",
        "rows": 6,
        "highlight": ""
      }
    }
  ],
  [
    {
      "id": "output-label",
      "type": "LabelInput",
      "title": "Output Label",
      "mode": "output",
      "props": {
        "content": "",
        "tone": "default",
        "autoHeight": true
      }
    }
  ]
]
Result:
There is an official tool that demonstrates dynamic HTML rendering capabilities. The dynamic content in the Label section at the bottom of that tool is entirely rendered via HTML.
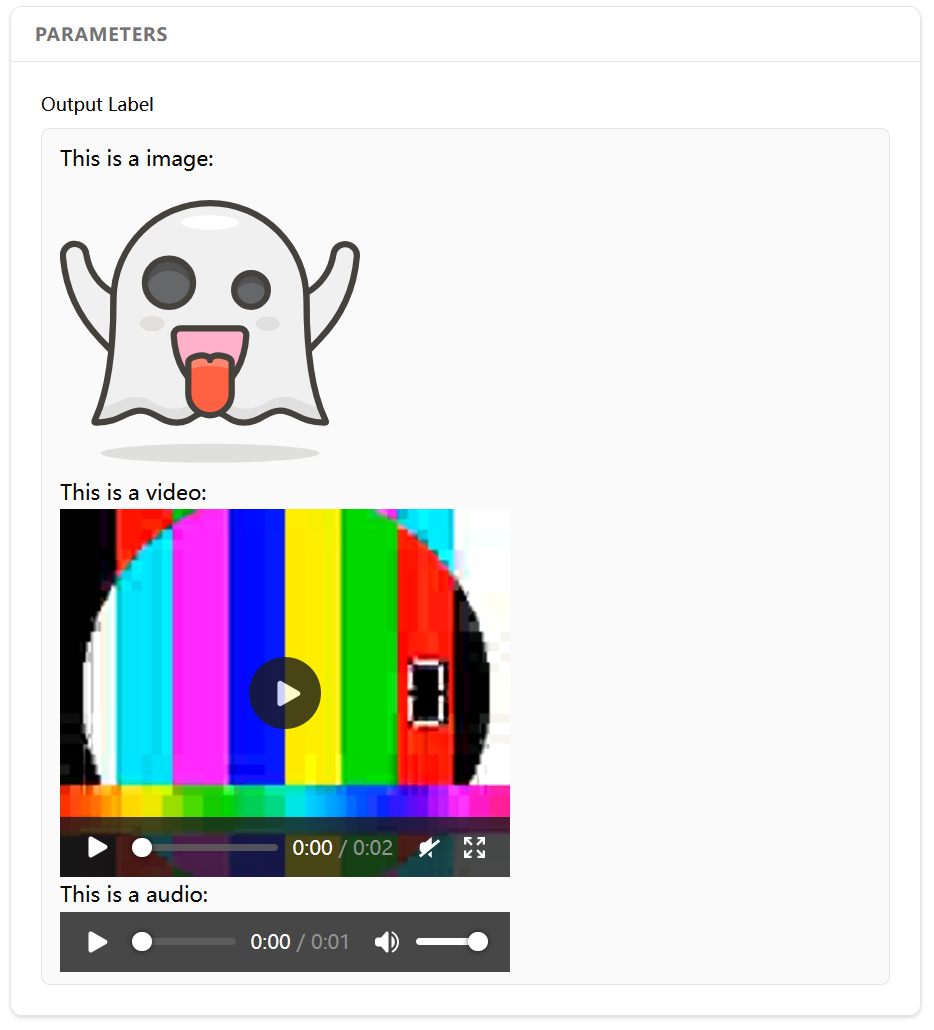
Displaying Rich Multimedia Content with Label
By combining LabelInput's dynamic rendering with Data URIs, you can display rich multimedia content such as images, videos, audio, and more.
- handler
- uiWidgets
async function handler(inputWidgets, changedWidgetIds) {
  // The data URIs here can be obtained from user file uploads, computations, etc.
  const data = {
    "image": "data:image/svg+xml;base64,PHN2ZyB4bWxucz0iaHR0cDovL3d3dy......iLz48L3N2Zz4=",
    "audio": "data:audio/vnd.dlna.adts;base64,//FQQDCf/N4CAExhdmM1OC4y......VBAAZ/8ARiBtHA=",
    "video": "data:video/mp4;base64,AAAAIGZ0eXBpc29tAAACAGlzb21pc28yYX......MTcuMTAz",
  };

  // Dynamically render HTML using the data object
  const html = `
<p> This is a image:</p>
<img src="${data["image"]}" style="width:200px" />

<p> This is a video:</p>
<video controls width="300px">
  <source type="video/mp4" src="${data["video"]}">
</video>

<p> This is a audio:</p>
<audio controls>
    <source type="audio/mpeg" src="${data["audio"]}">
</audio>
  `;

  return {
    "output-label": html,
  };
}
[
  [
    {
      "id": "output-label",
      "type": "LabelInput",
      "title": "Output Label",
      "mode": "output",
      "props": {
        "content": "",
        "tone": "default",
        "autoHeight": true
      }
    }
  ]
]
Result:
Advanced Usage: Dynamic HTML Scripts + Data Binding
The Label usages described above all display static HTML. Since LabelInput can render full HTML, you might immediately want to try returning HTML with rich interactive features to build a tool with complex interactions.
Unfortunately, simply returning HTML cannot achieve this.
This is because the HTML returned by the handler is inserted into the DOM via innerHTML, and <script> tags within it will not be executed (this is a browser limitation).
For example, in the following case, you might expect that after the handler returns the HTML, <script>alert("hello")</script> would execute and show an alert in the browser. However, the <script> tag will not be executed.
async function handler(inputWidgets, changedWidgetIds) {
  // The code inside <script> will NOT be executed
  const html = `
<script>alert("hello")</script>
<p>hello world</p>
  `;
  return {
    "output-label": html,
  };
}
Since <script> tags cannot be executed, you will face obstacles when building HTML with dynamic interactions.
In addition to the <script> execution issue, there is another problem to solve: how can the handler retrieve data dynamically entered by the user in the HTML?
To solve these problems, LabelInput provides an advanced usage as follows:
async function handler(inputWidgets, changedWidgetIds) {
  const label_content = {
    innerHtml: `<p>hello world</p>`,
    afterHook: (container) => {
      alert("hello!");
    }
  }

  return {
    "output-label": label_content,
  };
}
In this example, the label no longer returns a string but an object containing two properties: innerHtml and afterHook.
innerHtmlworks the same as the string return value we used previously — it specifies the HTML content to display.afterHookis a function that executes immediately after the HTML is inserted into the DOM. This allows you to bind event listeners and perform various operations insideafterHook.
After solving the <script> execution problem, we still need to address the other issue: how can the handler retrieve data dynamically entered by the user in the HTML?
To enable the handler to access user input data from the HTML, LabelInput collects data from elements with data-* attributes, summarizes them into an object, and passes it into inputWidgets.
const html = `
<textarea
  id="user-input"
  data-info=""
  oninput="this.dataset.info = this.value"
/>
`;

const label_content = {
  innerHtml: html,
  afterHook: (container) => {}
}
In the example above, we use the oninput event to write the user's input data into the textarea's data-info attribute in real time. When the handler is triggered, ToolBake automatically collects elements in the HTML that have both an id and data-* attributes, summarizes them into an object with the following structure, and sets it in the handler's inputWidgets parameter.
ToolBake only collects elements that have both an id and data-* attributes. Make sure any element you want to collect data from has both an id and data-* attributes. Elements with only data-* attributes but no id will not be collected.
{
  "data": {
      "html_tag_id": {
          "data-xxx": "xxxx"
      },
      "html_tag_id2": {
          "data-xxx": "xxxx",
          "data-yyy": "yyyy"
      }
  }
}
For the example above, when the user enters data in the textarea and triggers the handler, the handler will receive inputWidgets with the following structure:
inputWidgets = {
  "output-label": {
    "data": {
      "user-input": {
        "data-info": "Hello World!!"
      }
    }
  },
}
You can access the user's input data from the HTML by reading the inputWidgets values.
By combining afterHook and data-* attributes, you can build tools with complex interactive features.
The official tools include one that demonstrates this feature: Label Interaction Showcase
This tool renders a Label with a counter using dynamic HTML scripts and data binding. Clicking the Count button triggers the handler, which then retrieves the count from the HTML.